The GlobalSettings file describes a set of parameters that are used by all presets and modes unless overridden in individual Preset/Mode Settings files. Some of these parameters are defined only in this file. Of course, this doesn’t apply to mode-specific parameters, which are defined in a separate section of a settings file.
File location:
KinectSandbox\KinectSandbox_Data\StreamingAssets\GlobalSettings.txt
Values in bold are recommended and can be used as a reference. They are set by default in the files. Values in [brackets] describe the possible range.
File description:
“Language”:”en” – Language of the application [en, pl, pt]; you can add your own language definitions in localization.csv file in the same directory and use an abbreviation as the parameter value (see the Translations & Descriptions section);
“Resolution”: {
“Width”: 1920,
“Height”: 1080
} – Main screen (projector) resolution in pixels [width 0-1920] [height 0-1200]; you should enter the actual resolution that is set on your projector; works best with 16:9 or 16:10 ratios;
“SavingPath”: “D:” – Location on the computer for terrain shape export files [D:, E:, F:, etc.]; if you want to save files on an external drive, set the value to a letter next to your hard drive (your drive – E:, external – F:);
“FlipUiOrientation”: false – Flips the orientation of user interface on the main screen [true; false]; often due to projector’s position it shows the picture upside down; this parameter discards the need for hardware changes which can be problematic;
“FlipElementsOrientation”: false – Flips the orientation of the models in certain modes [true; false]; sometimes when the UI is flipped it results in DigQuest models being upside down – this parameter fixes this;
“CursorVisible”: false – Toggles the cursor visibility when the application is running on and off [true; false];
The settings presented above are only available in the GlobalSettings file and are common for all presets/modes.
The settings presented below are defined in the GlobalSettings file, although they can be overwritten in an individual Settings file.
“TargetFPS”: 40 – Max FPS lock [1-60]; depending on your hardware; higher values will result in smoother projection but can cause freezing if GPU is overloaded;
“RefreshRate”: 0 – Kinect refresh rate for low processor resources [0 – 100%-fastest CPU consuming, 1 – 50%, 2 – 25%, 3 – 12,5%];
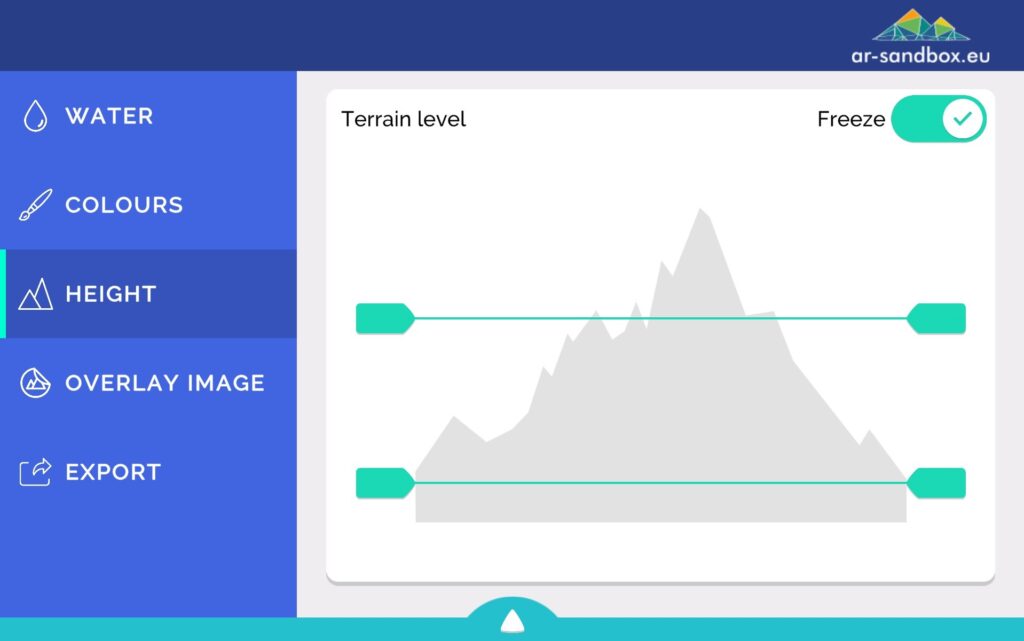
“TerrainBottomLevel”: -75.00 – Bottom level of the projection [(-)100.00-0.00]; notice negative value; smaller numbers (closer to 0.00) raise the terrain level;
“TerrainTopLevel”: -60.00 – Top level of the projection [(-)100.00-0.00]; notice negative value; smaller numbers (closer to 0.00) raise the terrain level;
Important: ‘TerrainBottomLevel’ value has to be lower than ‘TerrainTopLevel’ – the number is higher, since the values are negative. If you want to squeeze the vertical scale, bring the values closer to each other.
It can sometimes happen that the default values are too small for a sandbox setup and no terrain is visible at all. In such case, lower the ‘Bottom Level’ value by 10 units or more and observe the results. It is easiest to do using Settings Menu inside the app.
“TerrainMinLevel”: -80.0 – The same parameter as ‘TerrainBottomLevel’ but applies to touchscreen height control only [(-)100.00-0.00]; We recommend using value aprox. 5 units smaller than “TerrainBottomLevel” to gain some margin.
“TerrainMaxLevel”: -55.0 – The same parameter as ‘TerrainTopLevel’ but applies to touchscreen height control only [(-)100.00-0.00]; We recommend using value aprox. 5 units larger than “TerrainTopLevel” to gain some margin.

Important: ‘TerrainMinLevel’ was set lower than ‘TerrainBottomLevel’ – this ensures there is a margin on the touch height control and full vertical scale is available. The same goes for ‘TerrainMaxLevel’ – value is higher than ‘TerrainTopLevel’
“Walls”: {
“Right”: 100,
“Left”: 440,
“Top”: 120,
“Bottom”: 310
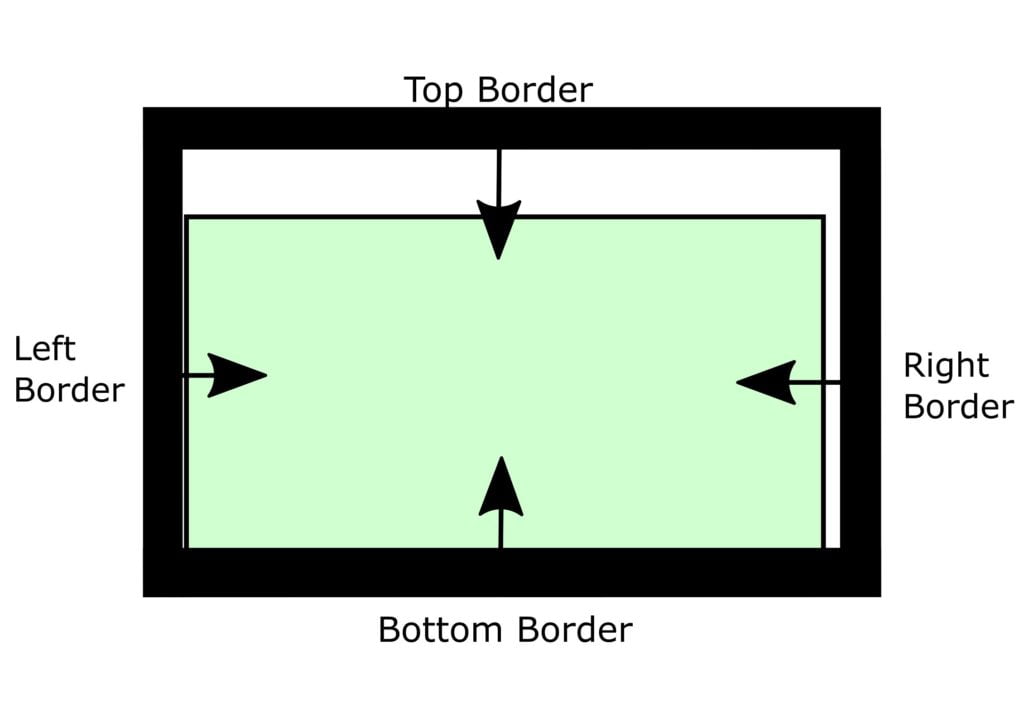
} – Borders of the projected area [(-)1000-1000]; Each wall is adjusted independently. Increasing values move the boundaries from top to bottom, right to left. They are used to limit the area of the simulation to avoid scanning surrounding objects, which can cause glitches. For best results, each border should be set right at the edge of the sandbox. It is easiest to edit the values using the On-screen Menu within the application, as the changes are immediately visible.

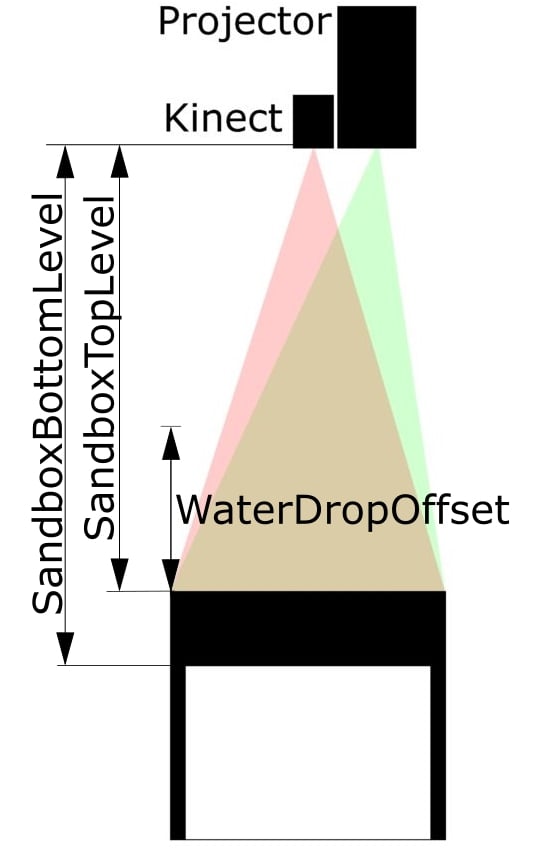
“WaterDropOffset”: 200 – Distance (in mm) above the top level (‘SandboxTopLevel’) of the sandbox, required to activate waterflow [0-500]. A value of 200 means that you have to raise your hand 200mm above the sandbox level to trigger the simulated rain. Entering a higher value will result in the area of water flow activation being limited due to the Kinect sensor’s field of view.
“SandboxTopLevel”: 1200 – Distance from the Kinect sensor (in mm), treated as the top level of the physical sandbox [500-2500]. Anything closer to the sensor will be cut out. Pay close attention to this parameter, as it is critical to the proper setup of your device. Measure the distance between the Kinect and the top edge of the sandbox (if you use a lot of sand and it sticks above the top edge, treat it as the top edge instead) and subtract 50mm – enter the resulting number as the value.
“SandboxBottomLevel”: 1500 – Distance from the sensor (in mm), treated as the bottom level of the physical sandbox[500-2500]. Anything farther from the sensor is cut out. Pay close attention to this parameter, as it is crucial in a proper setup of your device. Measure the distance between Kinect and bottom edge of the sandbox and add 50mm – input the resulting number as the value.

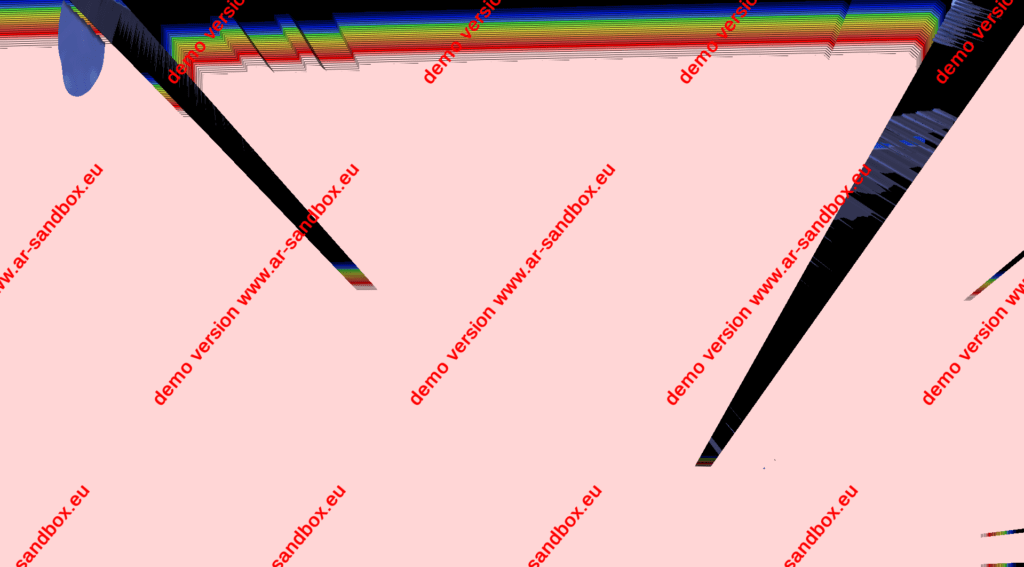
mportant: The last three parameters refer to actual physical values and will pretty much determine the performance of your device. A typical problem is when the Sandbox Top/Bottom Levels do not match the actual setup dimensions. This can cause the simulation to glitch. The Water Drop Offset parameter determines how easy it is to cause water to flow and how often it will happen unintentionally.
